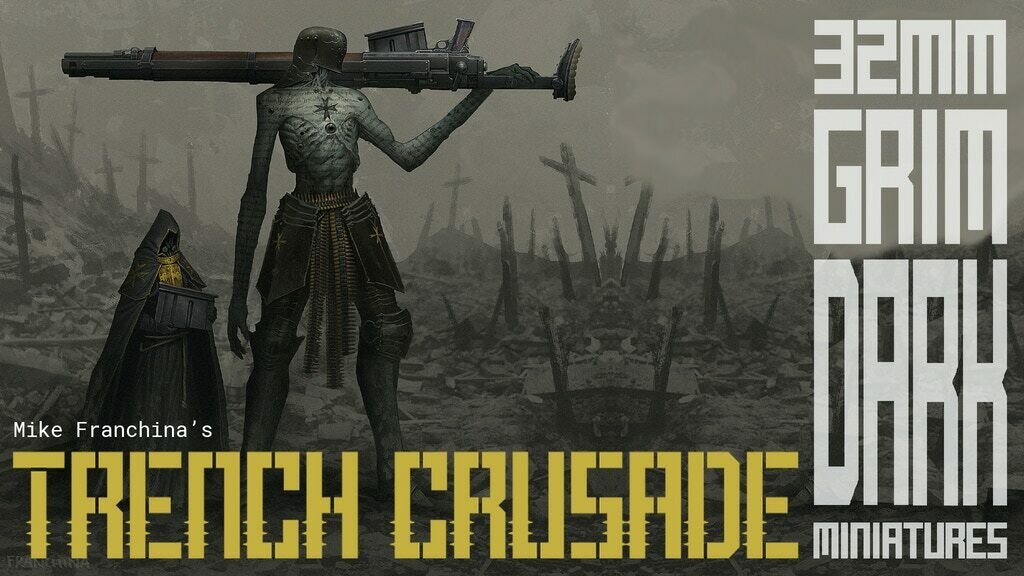
32mm grimdark miniatures set in the horrors of the Trench Crusade.
Important note:
* THE PRE-ORDER STORE IS NOW CLOSED
Latest Updates from Our Project:
A special delivery plus further updates
over 3 years ago
– Fri, Sep 02, 2022 at 08:31:29 PM
Greetings devout subjects of the Church! Your cardinal has some announcements to make, so stop whatever menial peasant task you're doing, get down on your knees and avert your gaze...
In this update:
A special delivery
Sculpting stretch goals
BackerKit surveys - problem solving for those still waiting for their survey email
A special delivery
A courier arrived yesterday and delivered 100kg (220lbs) of art cards! Boxes of these are currently stacked up in the corridor of my house, leaving just enough room to get past. I should probably find a better place to store them, though!
100 kilos of boxes. A minor trip hazard...
The cards do look very nice! Remember, everyone who backed at the GBP18 Communicant level gets all five of these for free as part of their pledge. :)
Apologies for the crappy picture taken on my old iPhone. My wife keeps telling me to get a Samsung as they apparently have much better cameras!
Sculpting stretch goals
The combat medic is almost upon us! Had some school holidays/children-related delays this past week (it was my son's birthday and my wife had the week off, so we got plenty of family activities in), but the kids are finally back at school from Monday so I have the house to myself again, along with the necessary peace and quite required to get some serious work done. I am sure many can relate! :)
So, I plan on uploading more photos in another sculpting update later next week - hopefully with a finished combat medic! Once she is done, I'll be cracking on with the next sculpt...
BackerKit surveys
So far the surveys have been going well overall, with 82% now completed. However, a few of you have been in contact with some issues, mainly due to not receiving the survey email from BackerKit.
If you have not yet received your survey, and after checking your spam folder, could you take a look at the following BackerKit help page first:
If you have been through this help page and nothing is working, please send me a message via Kickstarter and we can take it from there. Don't worry - we will get that survey to you somehow! :)
Cheers,
James
Pledge manager launched + Step-by-step guide
over 3 years ago
– Wed, Aug 24, 2022 at 04:37:04 AM
The BackerKit pledge manager has now been sent out to all backers, so check your inboxes! :)
After receiving some feedback, I need to go over a couple of things here. The 'smoke test' has overall proved to be very successful, but I have had some questions/suggestions...
Some of you have asked if it would be possible to list everything that you are getting with the 'Communicant' pledge, so you can immediately see what you have already pledged for (and easily work out what you need to add, if you want add-ons). I had listed this under 'pledge details', but did not realise that this would not be immediately obvious when you open the survey. Unfortunately, BackerKit 'strongly discourage' any changes to the survey now, so the best I can do is as follows:
You can see what you get in the survey by clicking on the highlighted '£18 - Communicant' pledge level. Here it will tell you that you get the Communicant, Ammo monk and all free stretch goals. However, unfortunately this does not specifically list the individual free stretch goals.
I have added another FAQ (on BackerKit) titled: 'I pledged at the 'Communicant' level (GBP 18) - What do I get?' If you pledged at the Communicant level (the only pledge level, unless you are donating or wanted access to the pledge manager), you get all of the following: 1 x Communicant miniature, 1 x Ammo monk miniature, 1 x Combat medic miniature (free), 1 x Witchburner general miniature (free), 5 x Art cards (free). You will have the option to add more paid-for add-ons in the BackerKit pledge manager.
All of the free stretch goals are still free to Communicant level backers!
Some of you wanted to confirm that all free stretch goals are still included, since you have seen that there are paid-for options in the survey. Yes - you absolutely still get the free ones! On the BackerKit survey, there are now paid-for options of, for example, the Combat Medic. This is for anyone who wanted more than one, or for any late backers who just wanted to order this miniature. :)
Step-by-step guide to completing your survey
Here follows a guide to filling out your survey, in picture form! :)
NOTE: PLEASE BE SURE TO ADD A PHONE NUMBER ON THE SHIPPING PAGE. THE COURIER NEEDS THIS, AND WE GET FINED FOR EVERY ORDER THAT DOES NOT HAVE A PHONE NUMBER. OUCH!
Step 1
After clicking on the link in the email, you will be taken to this page on the BackerKit website. Check the country for shipping, as well as your state/region. Additionally, you can click on the '£18 - Communicant' text highlighted, and this will open more details on the pledge, shown below. If everything is looking ok, click on 'Get Started'!
The pledge details, should you wish to check them.
Step 2
After clicking 'Get Started' you will arrive at this page. Just put 'ok' or something to that effect to show you understand the question and supplied answer. Then click 'Next'...
Step 3
Click on the 'Got it, thanks!' in answer to the statement regarding shipping. Then click on 'Next: Add-ons'...
Step 4
On this page you can see on the right hand side the pledge amount and credit remaining. Basically, if you pledged GBP 18 for the Communicant pledge it will look like this, with zero credit remaining (since the Communicant pledge is auto selected). If you want to add any paid-for add-ons, you can do so here. Once you are done, click 'Next'.
Step 5
Enter your address details here. PLEASE BE SURE TO ADD A PHONE NUMBER. We need this for the courier - if we don't have phone number, we get a fine from the courier! When you have filled out the form, click 'Next'.
Step 6
All you need to do now is confirm your information and place your order! Job done! :)
I hope that has been useful, especially for those who haven't backed a Kickstarter before, or have never used BackerKit.
As always, any questions just let me know in the comments or send me a message.
Cheers!
James
Pledge manager update #2
over 3 years ago
– Tue, Aug 23, 2022 at 03:32:57 AM
Good day to you all! I hope that everyone reading this is well.
BackerKit have just notified me that project setup has been approved! Huzzah! So, what happens next...? Essentially, we can now send pledge manager surveys out to backers. However, following BackerKit's recommendation, we have just now sent a 'Smoke Test' to 5% of our backers.
What is a Smoke Test?
A smoke test sends surveys to 5% of backers
It’s a simple way to catch any errors in the survey and make sure everything runs smoothly (I won't bore you with the details, but creating the survey was quite an involved process!)
Once the smoke test has been completed, we can send surveys to the rest of our backers!
After the smoke test is out, we basically monitor backer inquiries and key stats around survey performance — once all looks good we can send the remaining surveys. This will be over the coming days.
Sculpting the Combat Medic
My wrist is also back to (pretty much) normal, so I have been doing some more sculpting on the Combat Medic. I will have some photos to show of her very soon... :)
Cheers!
James
Plague Knight helmet
Pledge manager update #1.5...
over 3 years ago
– Tue, Aug 16, 2022 at 11:59:44 PM
Hello! Just a teeny weeny update about a teeny weeny delay...
I'm still waiting for the funds to be paid to me from Kickstarter and, since BackerKit require almost a grand in order to release the pledge manager, we unfortunately have to wait a little while longer. Sorry about this, it is entirely my fault for not realising sooner that: a) BackerKit needed the money up front, before releasing the pledge manager and b) they also require up to two days to check and ok the BackerKit survey before it gets sent out to everyone.
So, long and the short of it: the pledge manager should be out by the end of the week! It just depends on KS paying me today/tomorrow...
In far better news, here is a Clave Signati character that Mike is currently working on.
Cheers!
James
Clave Signati - original pen sketch.
... and with some paint being applied.
Estimated timeline
over 3 years ago
– Wed, Aug 10, 2022 at 01:16:08 AM
Salutations skin-coated meat walkers!
I hope you are all well and ready for deployment. Apparently the Cardinal wants another million sacrifices to send over the top. Did I say sacrifices? Sorry, I meant heroic pilgrims who will be safely ensconced within heavily armoured tracked vehicles that have been blessed to withstand anything the heretics can throw at us. Honest.
Just a quick update with an **estimated** timeline. I must stress that this is only an estimate right now, but we wanted to give you a rough idea of what to expect, including a brief explanation of each stage. Due to the nature of the beast, sometimes things aren't always straightforward and delays can happen for a number of reasons. But we will of course keep you abreast of developments throughout the entire process!
As you can see below, the month for completion has moved back to May/June '23. This is basically because:
I now have to sculpt multiple stretch goals
Due to the huge number of backers (huzzah!), moulding and casting will take longer
This timeline is subject to change, but it is our current best estimate given the information we have to hand regarding production and fulfilment. We will, of course, attempt to get everything done sooner if possible, but the focus will always be on quality over speed. :)