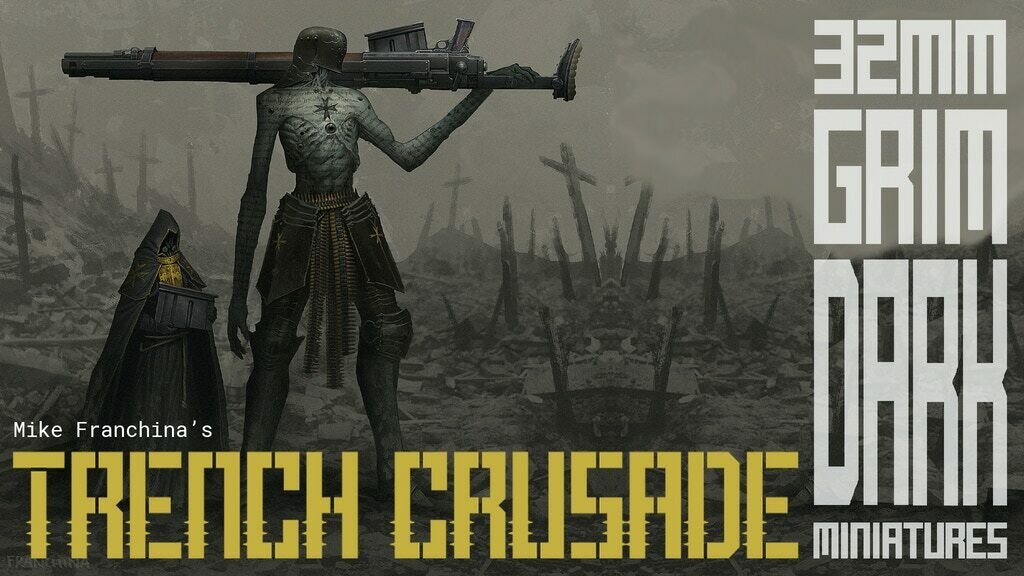
32mm grimdark miniatures set in the horrors of the Trench Crusade.
Important note:
* THE PRE-ORDER STORE IS NOW CLOSED
Latest Updates from Our Project:
Pledge manager update #1
over 3 years ago
– Sat, Aug 06, 2022 at 10:52:02 AM
Salutations fellow meat sacks! I hope you are all enjoying your week. Here are your deployment orders...
In this update:
BackerKit survey/pledge manager
Sculpting stretch goals
Future updates
BackerKit Pledge Manager Survey update
Right now I am building the BackerKit survey, setting up items and the pre-order store. The survey will go out to all backers, where you will be able to answer some simple questions relating to your pledge.
Also, I am going back and forth with two fulfilment companies, trying to fine-tune costs based upon countries/regions, SKU* weights and package sizes. I am also meeting tomorrow with a very fine fellow indeed regarding North America distribution. Basically, I’m trying to make as many deliveries custom’s friendly and as cheap as possible for all you wonderful people!
BackerKit actually recommend waiting 14 days after the campaign has ended to send surveys. This is how long backers have to correct any failed payments on Kickstarter, and how long it takes Kickstarter to disburse campaign funds to us.
BackerKit survey will be sent out 15th August 2022
You will then be able to: supply/change address, add any add-ons etc.
Please remember that shipping will be charged later, closer to when we are ready to ship
When we do charge for shipping, it will be done by weight, meaning that you will get the cheapest possible combined shipping rate!
Don’t worry, we will be here every step of the way, posting updates and answering questions. We understand not everyone has backed a Kickstarter or used a pledge manager before, so we will keep everything as straightforward as possible. Also, BackerKit will be available to answer questions in the pledge manager itself, with any tickets they can’t answer being forwarded directly to us.
Sculpting
My wrist is slowly getting better, with an increasing range of movement (and less pain) with each passing day. The Cardinal is hoping to chain me to the sculpting desk within the next week, although there is a combat medic lurking just outside my cell, waving her bone saw back and forth and whistling in a discouraging manner...
Future updates
Finally a heads up on future updates. Throughout the campaign, it is considered important (and polite!) to post updates as regularly as every day or two. Once the campaign is over, updates become a little less frequent for a number of reasons (not least of which being the fact that there is so much to do).
We aim to continue posting updates on the important stuff, plus anything else we feel you may be interested in - sculpting, production, fulfilment etc. - as frequently as we can, although sometimes it may be a week or more between updates the further down the line (and the closer to fulfilment) we get.
Just want to manage expectations a little/assure you that we will not be constantly spamming your inbox. ;)
Cheers!
James
* SKU - a Stock Keeping Unit. Basically ‘Communicant’ is an SKU, ‘Trench Pilgrim’ is an SKU etc.
New Antioch Shock Troopers. This looks like it may be a last stand...
The Cardinal of Malady is up and dancing on the table!
over 3 years ago
– Mon, Aug 01, 2022 at 11:42:19 PM
"Woohoo!" said the Cardinal. Never.
Well, we’ve done it! And it’s thanks to all 1908 of you making the pilgrimage. An absolutely gargantuan thank you from both of us to each and every one of you! Thank you for believing in us and the Trench Crusade. This is only the beginning...
So, as the dust settles upon the battlefield and the carrion begin to pick at our corpses, we just want to give you an idea of what will be happening next.
Soon we will be launching the BackerKit pledge manager, and when we have exact timings and details for that, we will explain all in an update. Also in the coming weeks, we'll have updates on sculpting the stretch goal miniatures (when James’s wrist gets better - please see last update), the development process (mould making and casting), as well as information regarding fulfilment and shipping fees.
Like we’ve said a few times now, this is only the beginning. There is a big fulfilment journey ahead, but we will be providing an estimated timeline soon to give you a better idea of the entire process, along with some rough timescales. We look forward to updating you on every step throughout this journey, as well as offering some glimpses into our future plans for the Trench Crusade.
Once again, a massive thank you to each and every one of you! The cardinal is pleased. Plenty of fresh meat for the grinder.
All the best!
Mike & James
24 hours to go!
over 3 years ago
– Mon, Aug 01, 2022 at 11:40:37 PM
Only 24 hours to go! Plus England have just been crowned European Champions! (Sorry, had to get that one in there - great game Germany, very well played). :)
This is going to be a brief update I’m afraid, since I am typing with one functioning hand...
So, as some of you will have seen from the past two updates, I’ve been busy sculpting the combat medic. But then I foolishly injured my wrist when playing catch with my son! I was attempting a diving catch, temporarily forgetting I am 44 years old and cannot defy gravity as once I could. What a muppet! [Insert facepalm emoji here]
Pretty sure it's just badly sprained as opposed to broken, but I can't use my left hand for anything right now. That means no sculpting until at least the swelling goes down (hopefully in the next few days)! I must apologise to everyone for my moment of madness. But I will be back sculpting the combat medic ASAP!
Combat Medic's bone saw WIP.
Shipping & BackerKit pledge manager
After the campaign ends, I will be using the backer data Kickstarter provides to work out how many packages will be going to each region/country. This will enable me to get proper, final quotes from the fulfilment centre. I will also be setting up the BackerKit survey ready for anyone who wants to add add-ons, multiple sets, alter pledges etc. This will be coming out soon, and I will keep you all updated regarding this.
Finally, I will be providing a rough timeline in an update very soon. This will give you an idea of what happens next, the various stages building up to fulfilment and estimated timescales.
Thanks again to everyone for joining us and making this (un)holy pilgrimage a reality!
Cheers,
James
Sculpting the Combat Medic: Part II
over 3 years ago
– Mon, Aug 01, 2022 at 12:32:58 PM
Good day to you, fellow pilgrims!
Yesterday I shared an update showing the initial stages of sculpting the Combat Medic. If you missed that, and want to see how I sculpt miniatures from the very beginning, then I really recommend checking that update out first. :)
Ok, so after making the armature we now need to pose it! In the next image, you will see the basic pose of the Combat Medic. I gradually and gently bend the copper wire with a pair of long-nose (needle-nose) pliers, using a 15cm (6 inch) steel rule to check the proportions as I go. I also make sure I have plenty of reference images to hand, including the female skeleton and anatomical photographs/drawings. This all helps to get the proportions and 'weight' of the post right, which is vital at this scale when you want to convey what the miniature might be doing. I cannot overstate how important it is to study anatomy if you want to sculpt!
Once I'm happy with the pose, I stick it into a champagne cork. I like to shave the top of the cork at an angle (which may be a bit difficult to see in this photo) in order to be able to make life easier when sculpting the lower sections, since I can angle my tools upwards from beneath (if that makes sense)!
The basic pose. Ignore the flappy arms - I just need to keep those out of the way to make it easier to access the torso.
Now that we have our pose, it's time to start blocking out some very simple anatomy! In the photo below, I have placed some very basic muscle shapes on the legs, just to get the overall structure/form. Since we won't be seeing the legs beneath the skirt, we don't need to make them any more refined than this. If I was sculpting bare legs, or tight-fitting clothing, then I would obviously make these more anatomically accurate and smooth them out.
Next step: very basic leg musculature. I don't need to be too refined about the legs, since they will be hidden beneath the skirt of her robes. I do, however, need the basic form so the skirt flows correctly.
Next up is making a proper head/skull shape, which you can see below. Once again, since her face will be covered, I do not need to add the usual facial details. All I have done is make sure I have a clear forehead, correctly positioned the eyes and can see where the centreline is (shown by a very faint vertical ridge running from the nose to the chin). I've also bulked out the ribcage a bit more, in preparation for the next step: making a basic torso.
Here I've made a proper head shape and started gradually building up the torso. Also, I have now filled the gap between the legs, ready for the putty for the skirt to be added over the top.
The final step in today's sculpting update is making a basic torso. This shape is important, since we need to know exactly where the clothes/armour will go and how it will hang. The hips and pectoral muscles are defined with simple shapes, so I know where and how I will be attaching the next layer of putty.
And here we are with the basic structure of the torso filled out. Now I have hips, I can see where the skirt will be hanging from, and where the armour will start and end. It's all about building up in layers, with each layer informing what will happen with the subsequent layer.
In the third sculpting update, I will be moving on to show the skirt and armour, since we are now ready to add those elements. I am happy with the basic frame that we now have and can really start to move on to proper details.
See you in the next update!
Cheers,
James
Sculpting the Combat Medic: Part I
over 3 years ago
– Fri, Jul 29, 2022 at 01:59:54 AM
I have received word that the Cardinal has been displeased with my progress, and I really don't want to be drawing the attention of the Masque of the Red Death. I think he might be eager to see an update on the Combat Medic - apparently we have been losing an unacceptable number of pilgrims to gangrene due to a deficiency in bone saw-wielding nuns...
Combat Medic - art by Mike Franchina
So, as promised, here is the first part in this little sculpting series. I am going to briefly go through each stage of the process so far, from what tools I use to making and posing the armature.
Tools
The main tools I use are:
Dentist's tool
Clay shapers
Scalpel
Sewing needle
Pin vice
Files
My basic sculpting tool kit.
The dentist's tool on the left is my favourite of the bunch and the one I use the most. The clay shapers see quite a bit of use as well, especially the chisel-head, as does the sewing needle (glued and green-stuffed into the end of an old pencil - this one is actually from a Kev White sculpting class I attended a few years ago).
GW clippers and needle nosed pliers.
Making the armature
I also learnt a great way of making armatures from Kev White. Using 0.8mm tinned annealed copper wire, I solder three sections together (these sections form the spine, legs and arms). I use a Dremel soldering torch and have a ceramic plate upon which I have drilled & pinned some jigs for the various armatures I need to make, depending upon scale and whether they are male or female, adult or child. This is pictured below.
Rolling out the wire using a steel rule. This results in nice, straight wire.
On the soldering block. As you can see, we have three sections of wire - spine, arms, legs. These are placed in the jig with the correct torso length - 9mm in this case.
The armatures after soldering. I will clip the head/neck section to the correct length in the next step - posing the armature.
Posing the armature
So, the next step is posing the armature. Just before posing, I will take some putty (ProCreate by Kraftmark in this case, but Green Stuff is just as good) and form the basic skull, ribcage and pelvis.
The armature with rudimentary skull, ribcage and pelvis. These three basic forms are important when it comes to sculpting the initial muscle groups, and gives me something to work around and attach muscles to.
Curvature of the spine.
Now that we have this very basic skeleton, I can begin posing it. Posing a miniature is one of the most important stages in the sculpt - we want to get a nice, believable pose, whilst also ensuring that everything is in proportion. If a limb is half a millimetre out it is quite obvious at such a small scale, so we need to be as precise as possible. This is what the ruler is for!
In the next update, I will show you the pose and the initial sculpting - getting the basic structure and form before moving on to the details.
I hope this has been interesting for some of you! :)